WPC Fence Installation list for 1 units(1800*1800mm):
A. Aluminum Post 1pcs
B. Top rail — 1pcs
C. Bottom rail — 1pcs
D. Fence board — 12pcs
E. L bracket — 4pcs
F. Post cap — 1pcs
G. Strip — 2pcs
H. Anchoring — 4pcs
I. Screws — 16pcs
Extra accessories:
1. Deco slates
2. Steel holder
Install tools: Impact drill and tape

Dimension for each assembly units:
Assembly unit
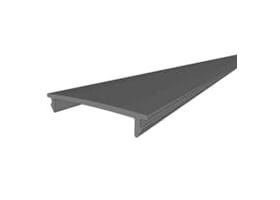
Strip
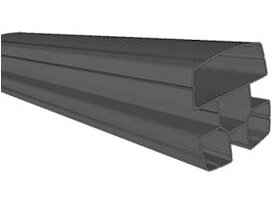
Aluminum Post
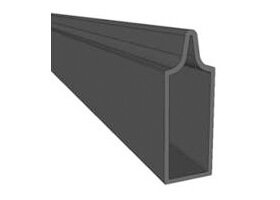
Bottom Rail
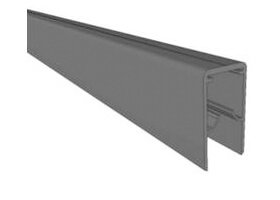
Top Rail

Anchoring
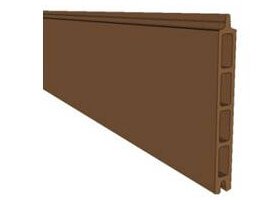
Fencing Board
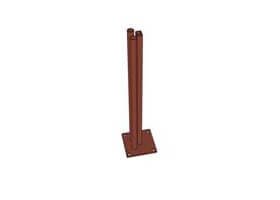
Steel Holder
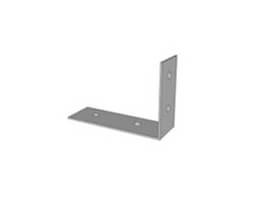
L Bracket
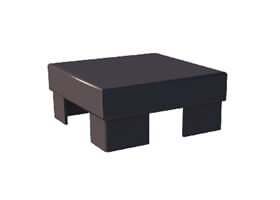
Post Cap
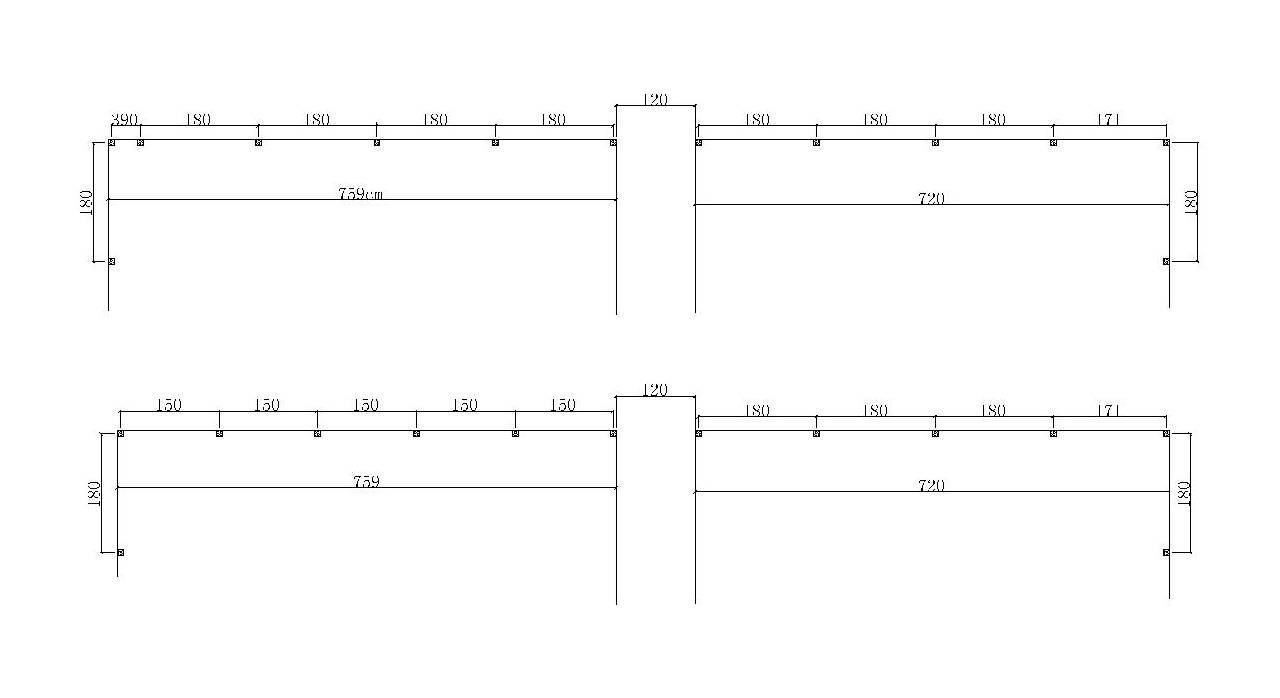
we advise you should measure the area before installation; Trying to divide each sets of fence into same distance.
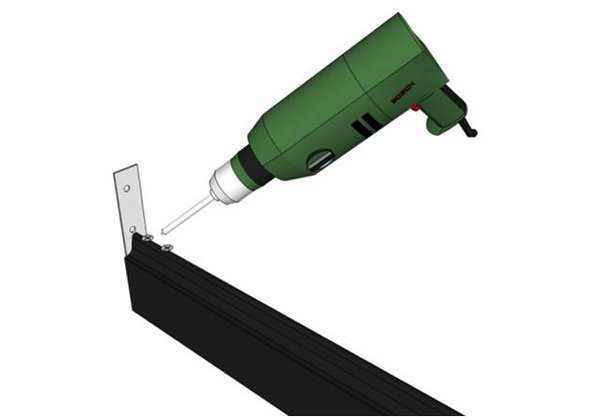

Before install steel holder, using the screws to make the combination between L bracket and Top rail (Bottom rail) , like pictures.
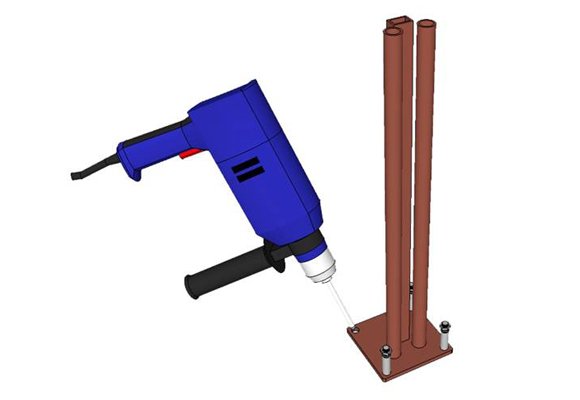
According to install request,Using the impact drill to make the holes on concrete ground and then put anchoring to fixing steel holder. Adjusting the distance between two aluminum posts.
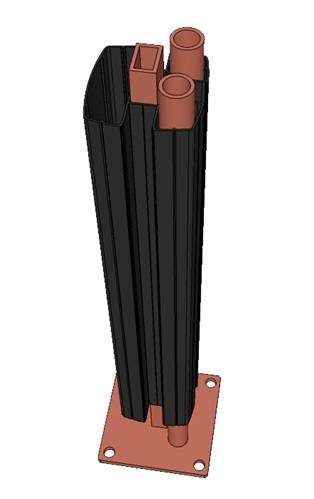
When steel holder finished, insert Aluminum post into steel holder.
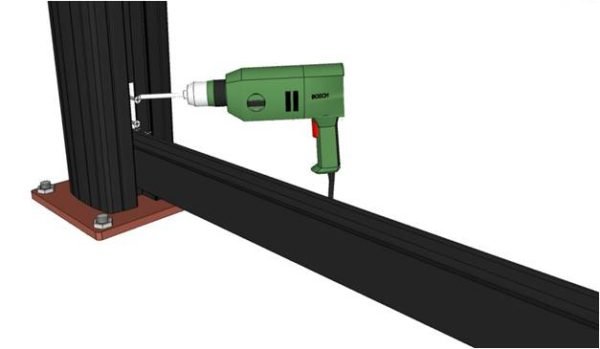
After aluminum post insert into steel holder,using impact drill to make holes and then make the connection between aluminum post and bottom rail by screws.
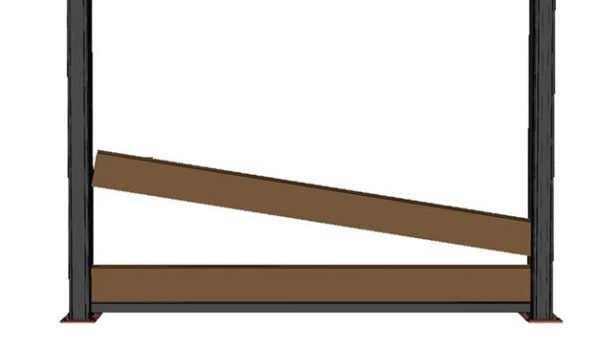
After install bottom rail,inserting the fence board directly, like picture.
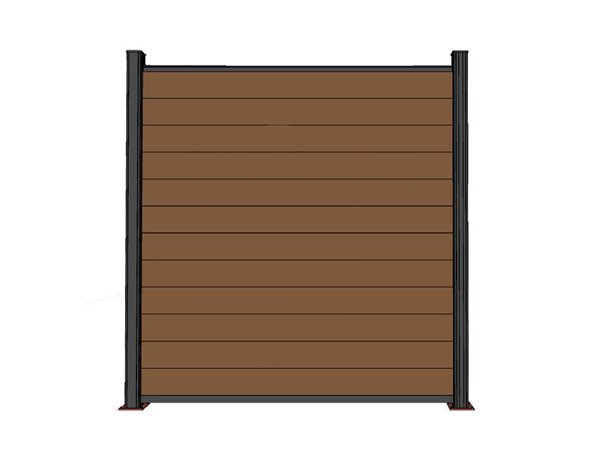
After install fence board, connect the top rail like picture.
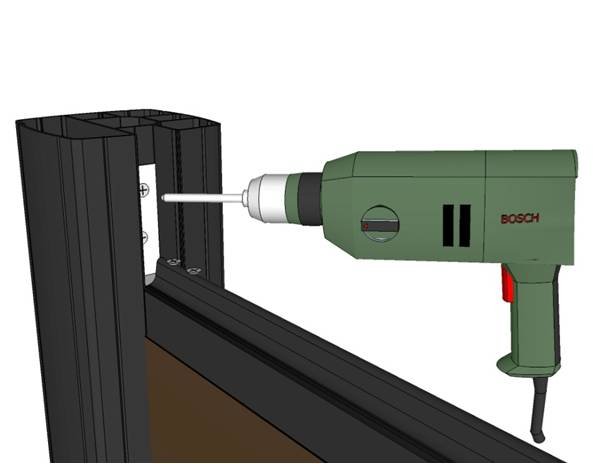
Using the impact drill to make holes then fixing top rail by screws.
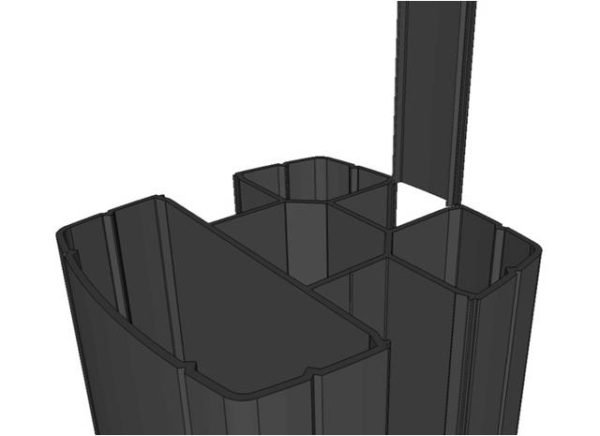

Finally inserting the strip and post cap as pictures.


